
If you have a disparate dataset, and only care about rows which have a certain value (or values) for a given column (or columns) then there are a couple of ways that you can apply a suitable filter.
To illustrate the different methods, I’ll use the famous Kaggle Titanic data set, and assume that we only care about data relating to female passengers.
Visual, Page, Drillthrough and Report Level Filters
Once the data has been imported into Power BI, the FILTERS pane at the bottom of the VISUALISATIONS panel provides one means to limit the results shown.
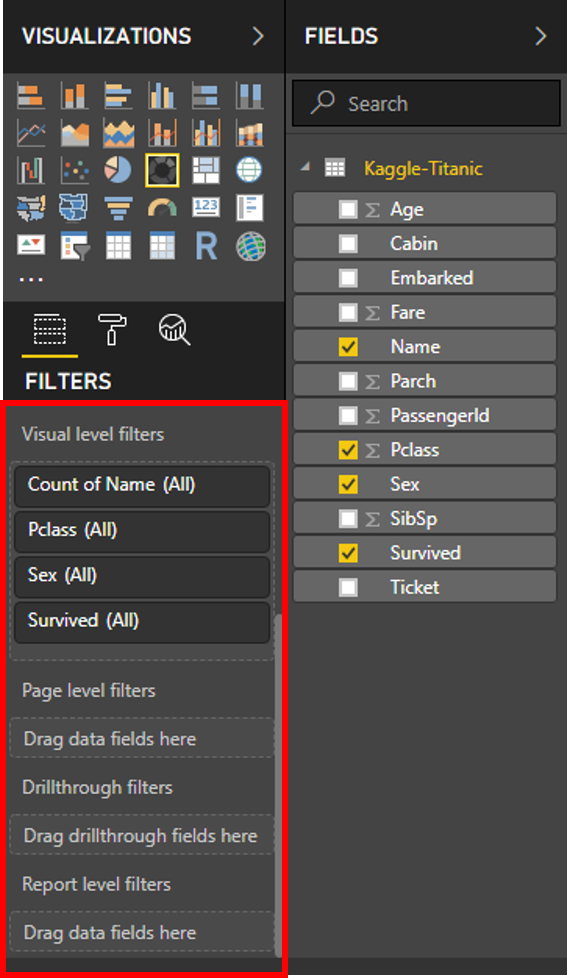
As per the Power BI filter documentation, there are four types of filters:
- Visual Filter: applies to a single visual on a report page
- Page Filter: applies to all the visuals on a report page
- Drillthrough Filter: applies to a single entity in a report. More information on using drillthrough can be found here.
- Report Filter: applies to all pages in a report
Whilst this method works perfectly fine, all data is still being processed by Power BI when imported - i.e. data about male passengers, as well as female passengers. If you think that you may possibly want to incorporate data relating to male passengers into your report at some point in the future, this is probably the best method for speed and flexibility.
Contrary to its name, the Titanic data set is relatively small, and so the impact of processing the data relating to male passengers (which we do not care about) is limited. However, if you had a very large dataset then needlesly processing data about male passengers would be a wastefaul use of time and resources.
Filtering at Source
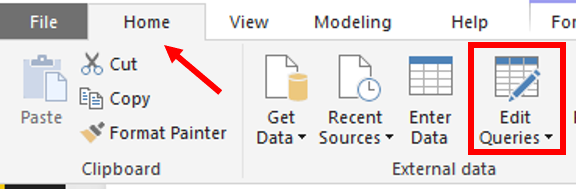
Alternatively, you can prevent the data relating to male passengers from ever being processed by applying a filter to the incoming data. In the Home tab, click on Edit Queries.
When the Query Editor window opens, click on the arrow in the Sex column, and deselect the male option.
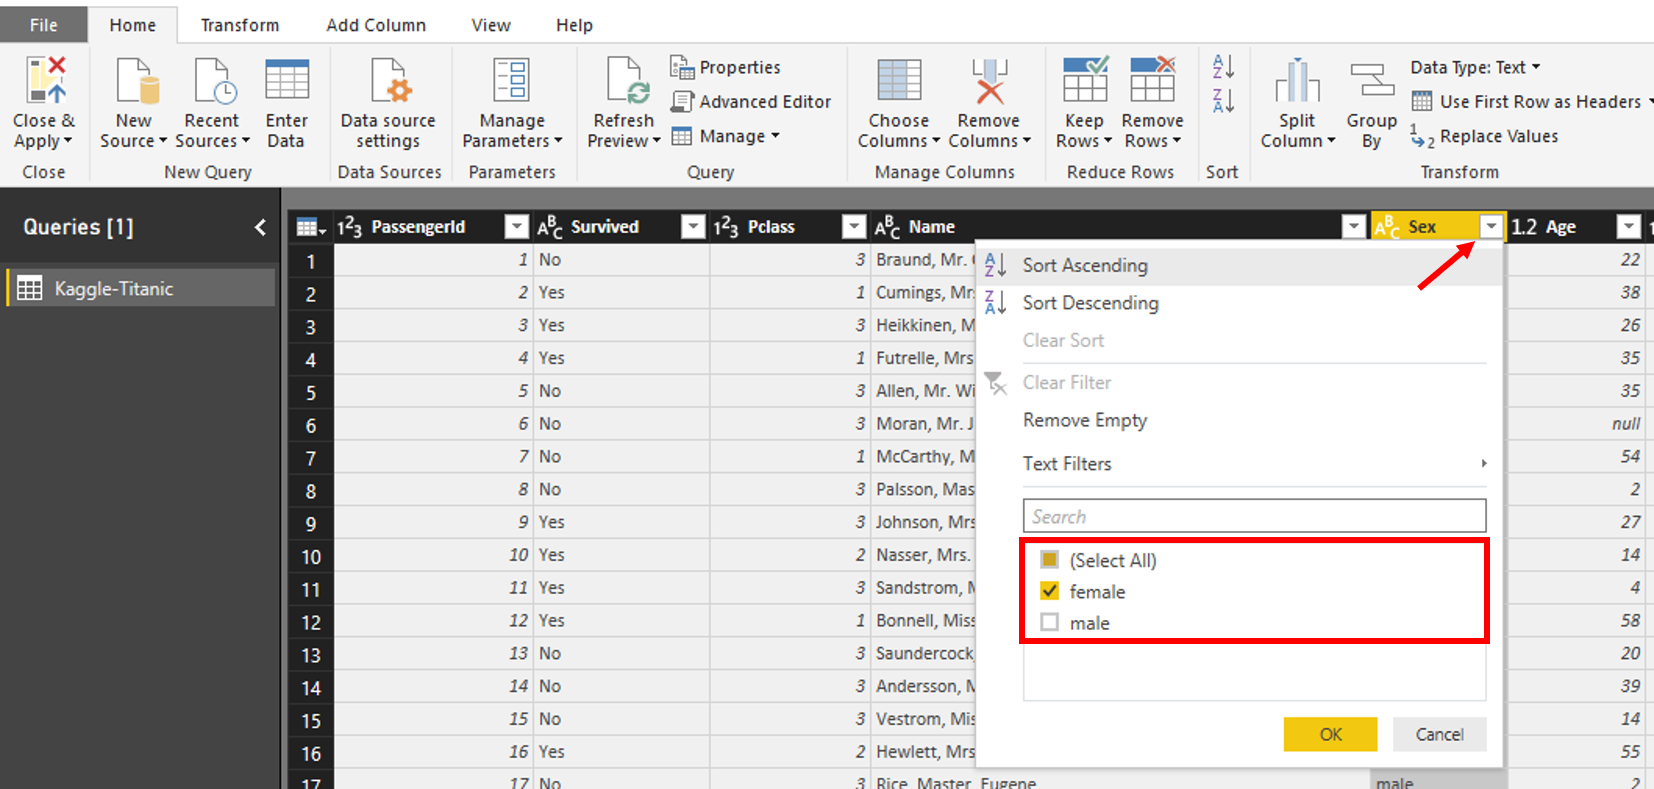
The sample data extract will refresh, and you should only see records which have a value of female in the Sex column.
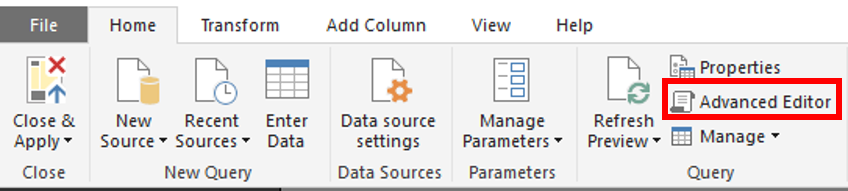
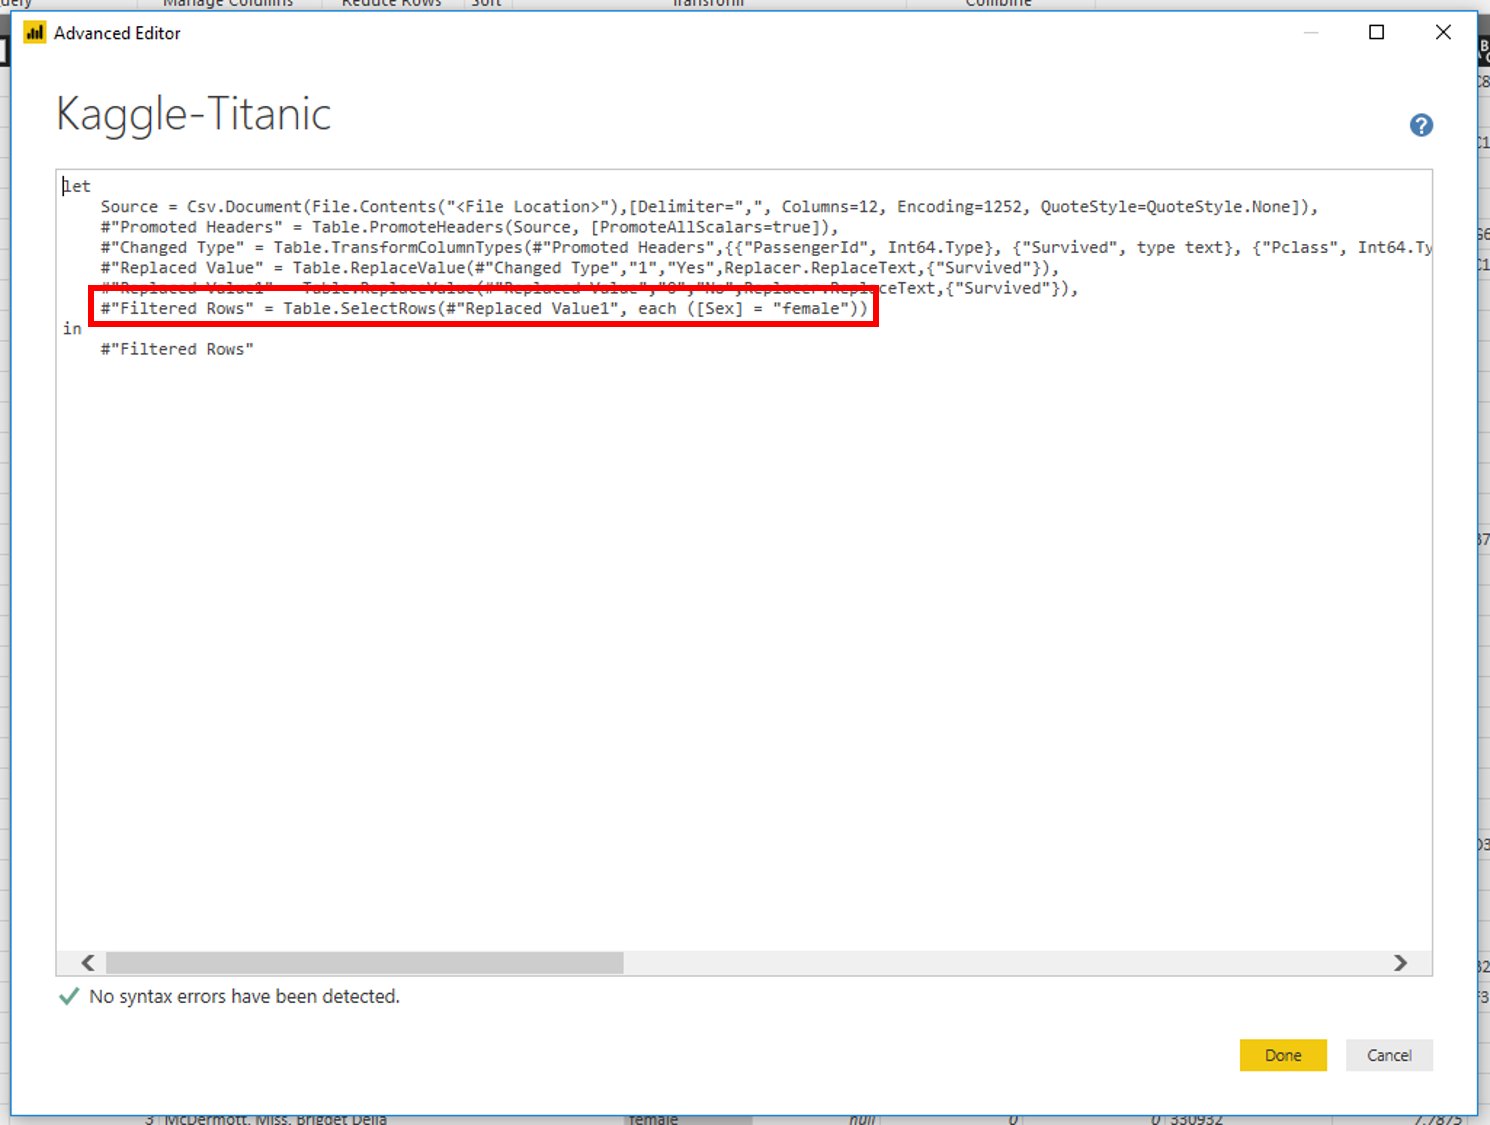
If you click on the Advanced Editor button in the Home tab, you’ll see that the filter is being applied.
Filter at Extract
The Titanic data set used in this example is being imported from a CSV file, but should you be importing data from a database, it is possible to use native database queries via Power Query.
An example of such a Power Query, should the Titanic data set be stored in a SQL databse, may be as follows:
let
    Source = Sql.Database("<Database Server>", "<Database>", [Query="SELECT * FROM <schema>.[Titanic Data Set] WHERE [Sex] = 'female'"]),
in
    #"Source"
This method has the added advantage of reducing the data that is actually being imported by Power BI in the first place to just the records of interest (i.e. those relating to female passengers). Should your dataset be very large then this may result in significant time savings.
A further significant advantage is outlined in the Power Query documentation.
[Power Queries let] you use an existing [SQL] query that returns the required data results, without having to rebuild the query using the Power Query interface. This feature is especially useful for importing data using complex queries that you might not want to or know how to rebuild using the Power Query interface.